You may have forgotten – I know I did – but we still had a few things to wrap up in the kitchen before we could call that project finished. With the holidays past and the cold weather limiting any time outside, I was finally able to focus on adding the last few details – namely that last cabinet.
When we originally tore everything apart, we got rid of a broom closet in the corner. I had already added shelves to convert it to a pantry, but it was still clumsy at best.

Since the plan was to refinish the existing cabinets, we were left with a gap where the old corner closet had been. The simple thing would have been to buy a pantry cabinet, slide it in place, and be done with it. But, the opening was an odd size and our door pattern is no longer manufactured. To find something close would have cost more than what we had invested in the entire rest of the project.
Instead, I rounded up the extra doors and hardware we had left over from rearranging the cabinets and built the cabinet we needed. (This portion has been done for a while now.) The top and bottom doors are original cabinet doors. I made the center door and painted the panel with chalk board paint. You may have noticed this in a past post or two.
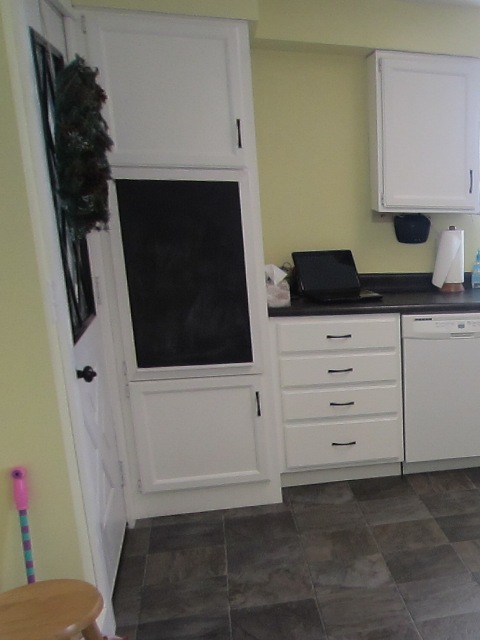
Now the only remaining issue was to fill the wall space between the wall cabinet and the pantry. This time I didn’t have any leftover door panels that would work and moving the lone wall cabinet wasn’t an option. We considered leaving it open or simple shelving, but opted for an open-faced cabinet – and I finally finished it yesterday.

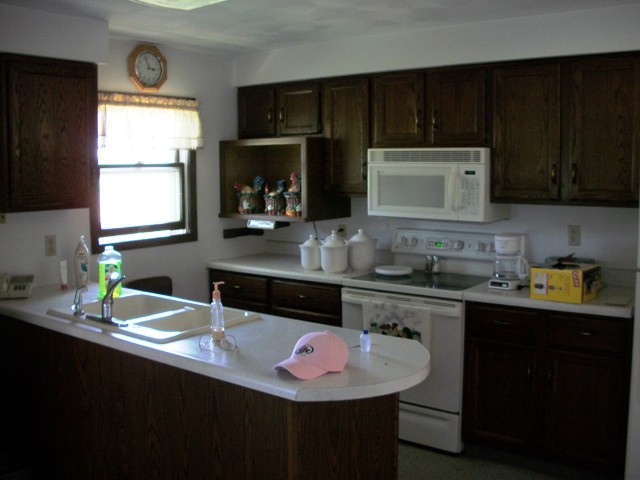
Since it’s been so long, here’s what things looked like when we moved in…
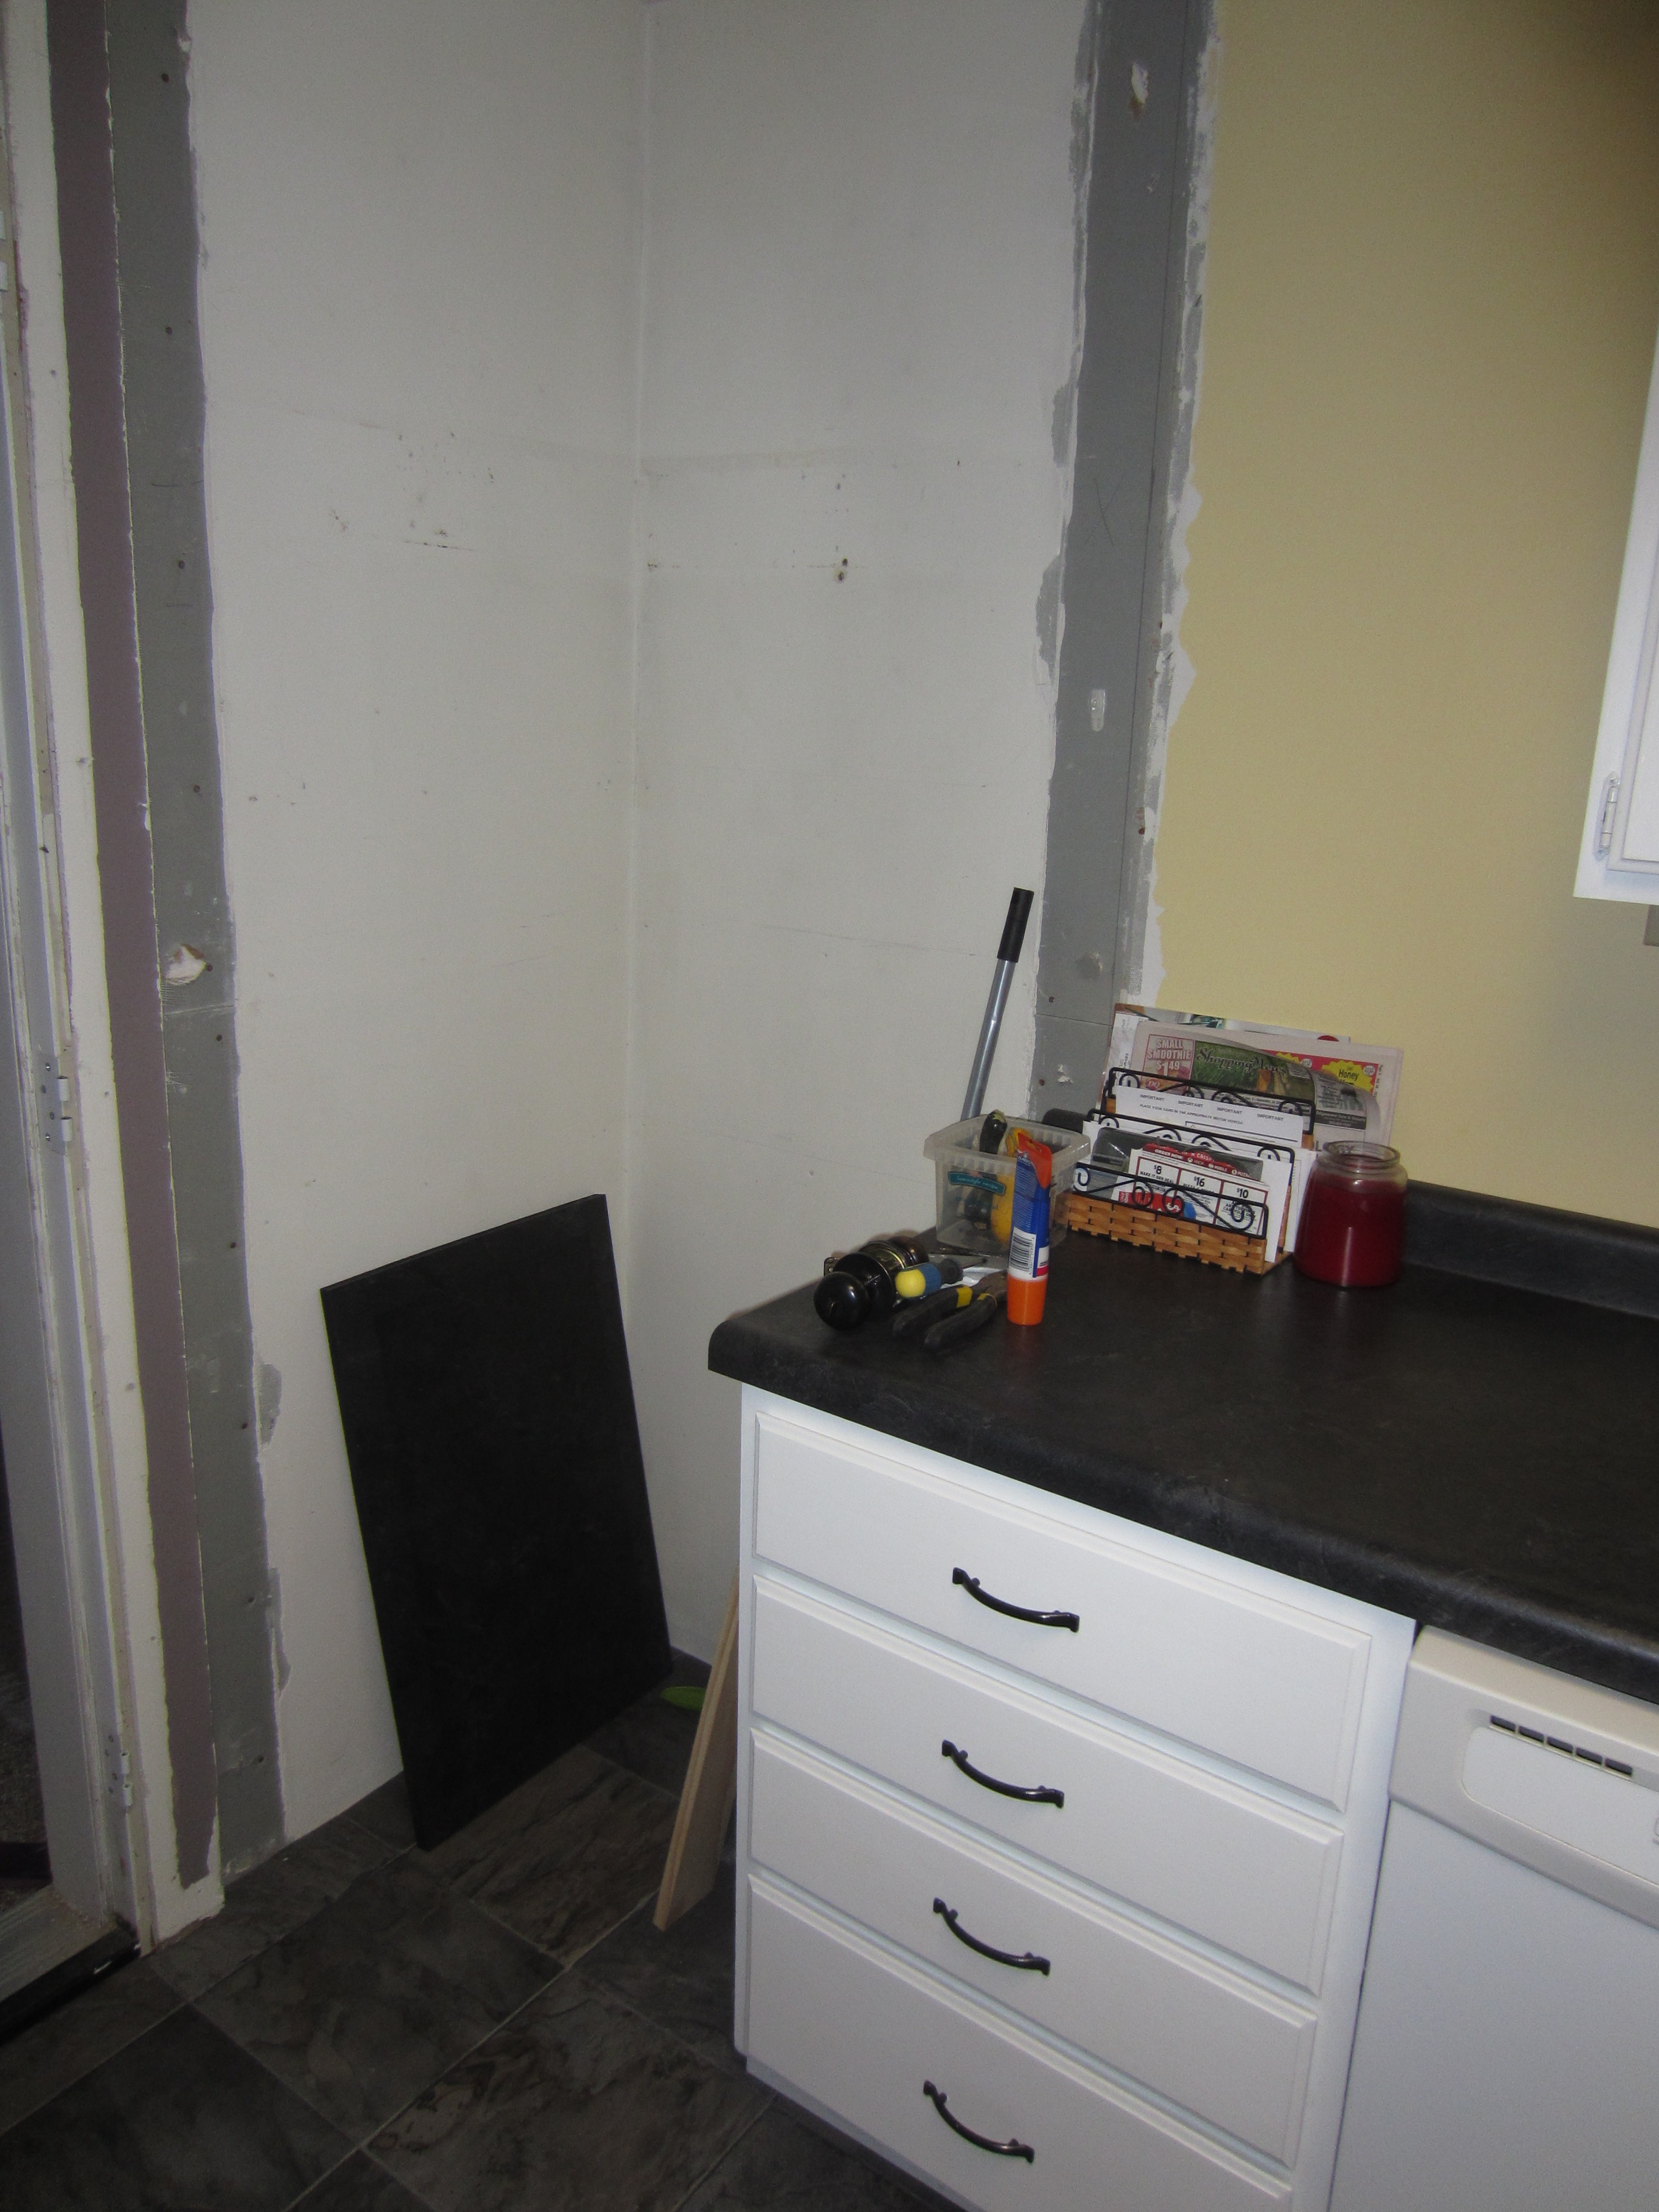
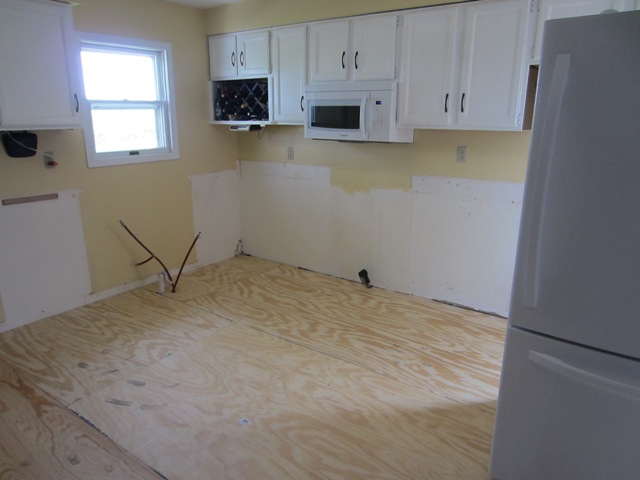
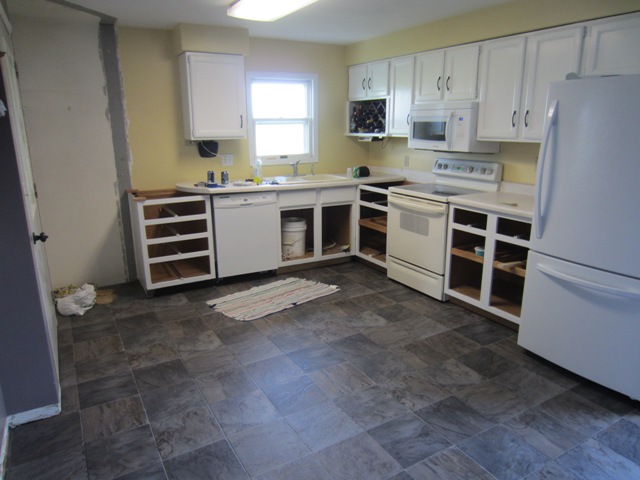
And once the old floor was torn up, new underlayment installed, and cabinets painted…
And once the floor and base cabinets were in…
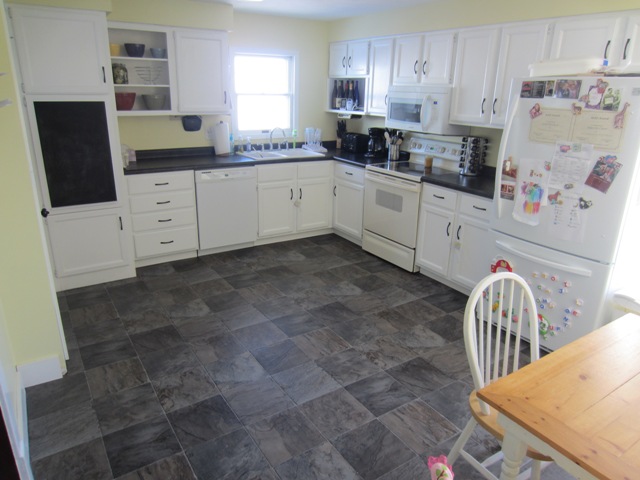
And finally, finished…
So, what’s next?

Looks great!!!!